Make a pizza peel (or serving plate) for removing your pizza from the oven or just serving good food at a party.
This project was originally posted on Instructables
Overview
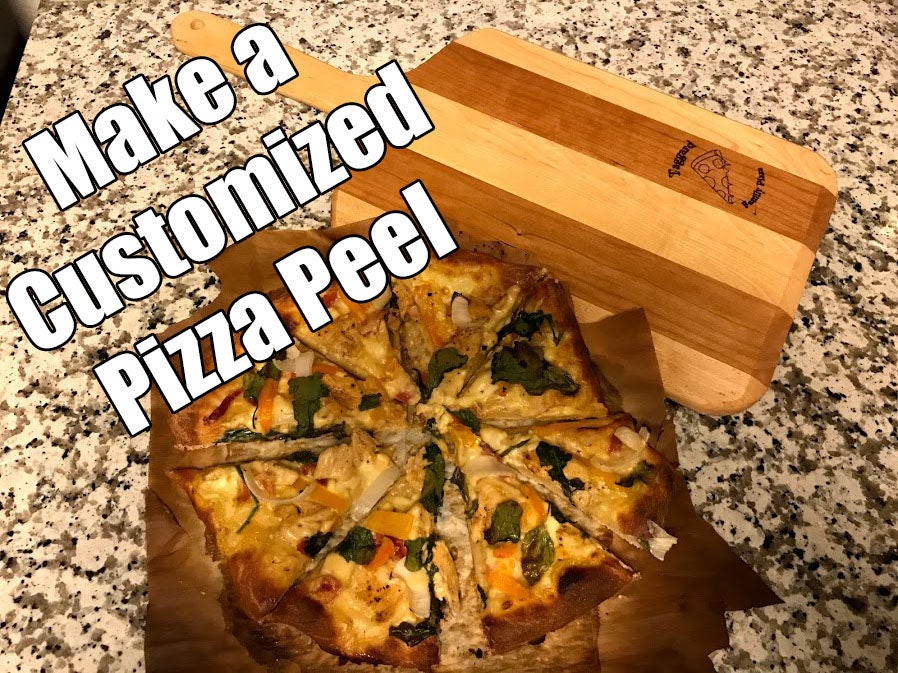
Greetings! With Father’s Day coming up I knew I wanted to make my dad something he could use. He likes to grill pizzas on the BBQ but doesn’t have an easy way to transfer the pizza to and from the hot pizza stone. Thus the idea for a custom pizza peel was born!
This is probably one of the easier wood working projects I can think of (second to a cutting board), however it was new for me so thought it would be great to document what works and what doesn’t. I’ve made plenty of things out of wood before (a coffee table, lighted marquee sign, and lofted bed frame to name a few), but this was the first one I was making to be used by someone else. The steps are real easy and quick and result in a really cool gift if I do say so myself. Without further adieu, let’s get started!
Step 1: Tools and Materials Needed
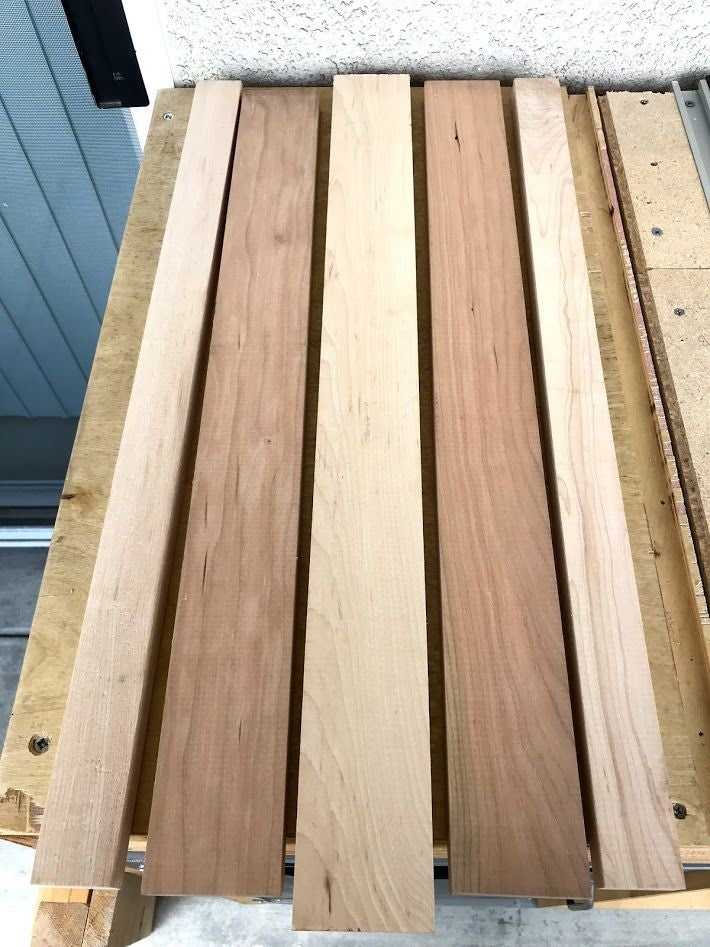

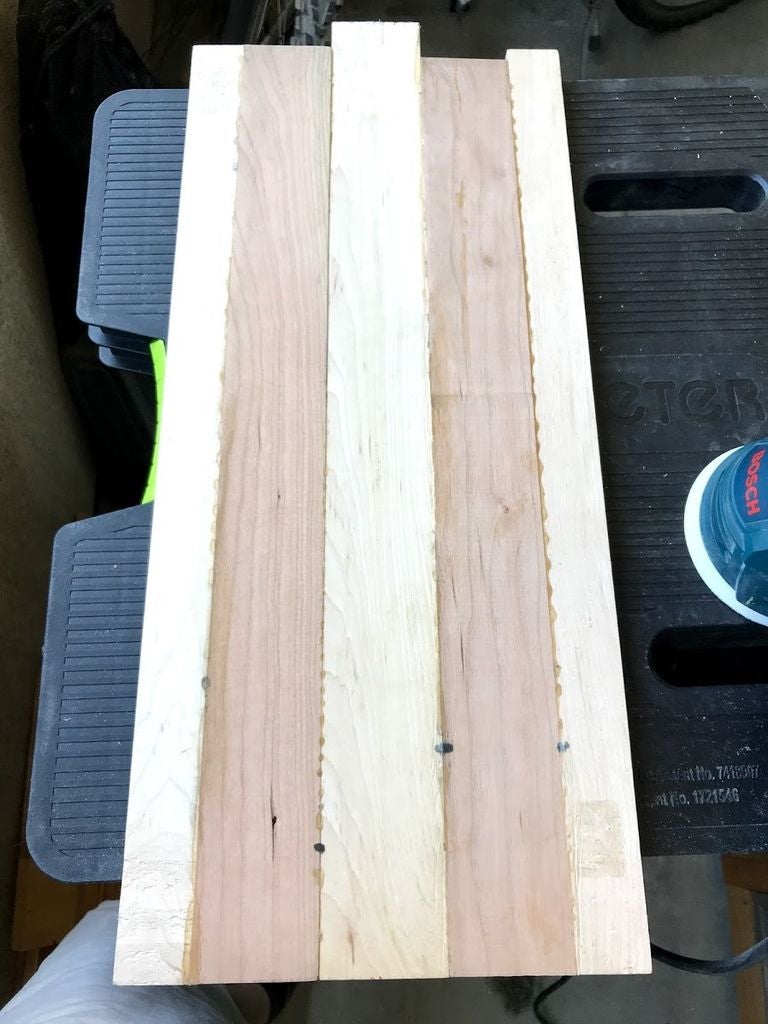
First thing’s first, we need materials. I picked up some 2′ hardwood scraps from Home Depot for about $3 each. Make sure you use hardwood so food particles and such don’t get in between the grains of the wood (this causes it to smell and rot, or so I hear). I chose varying widths and types of wood so I got a pattern I thought would look cool so here’s your chance to experiment and make it your own. I chose Cherry and Maple pieces of wood and stacked them until I got the size I wanted (about 11″ x 24″ x 1.5″). If I were to make another one then I’d probably make it a little wider (~15″ or so should be plenty wide).
Materials:
– Hardwood slabs
– Wood Glue (make sure it’s water proof)
– Danish Oil
Tools:
– Jigsaw
– Clamps (the more the better)
– Orbital sander (80 grit to 220 grit pads too)
– Router with round over bit (optional)
– Laser engraver (optional)
Step 2: Arrange Wood and Glue the Boards
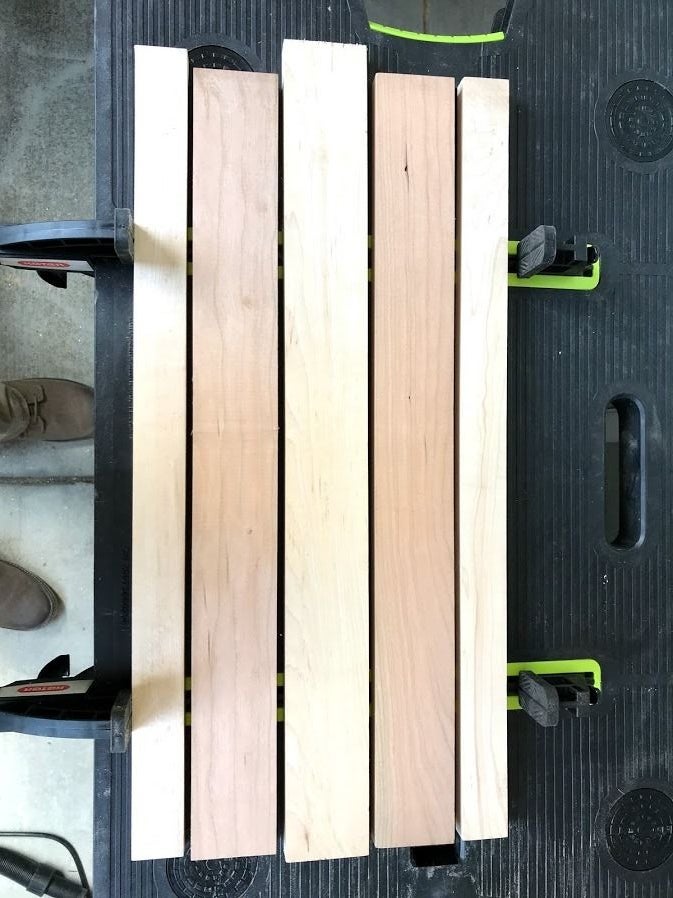

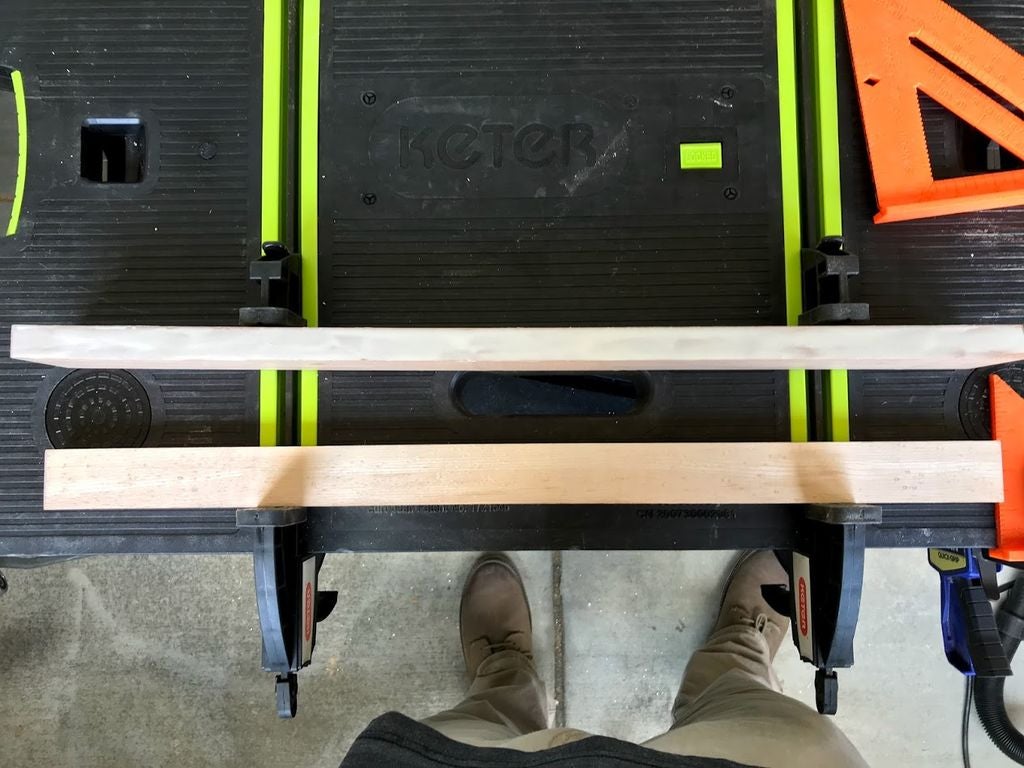
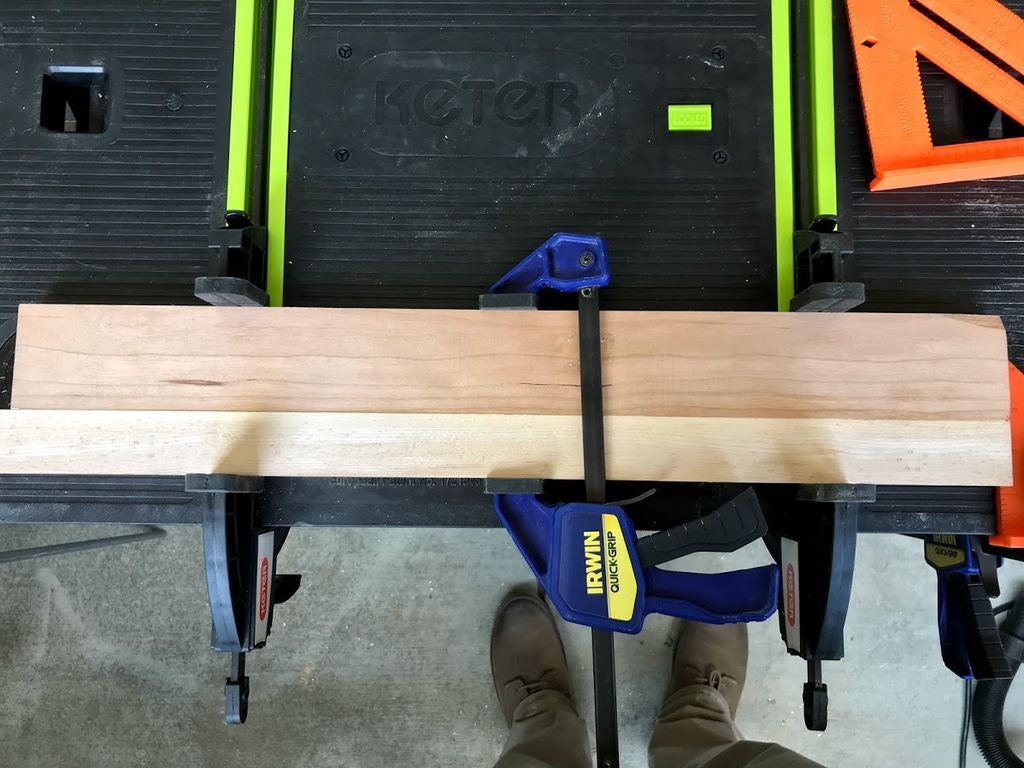
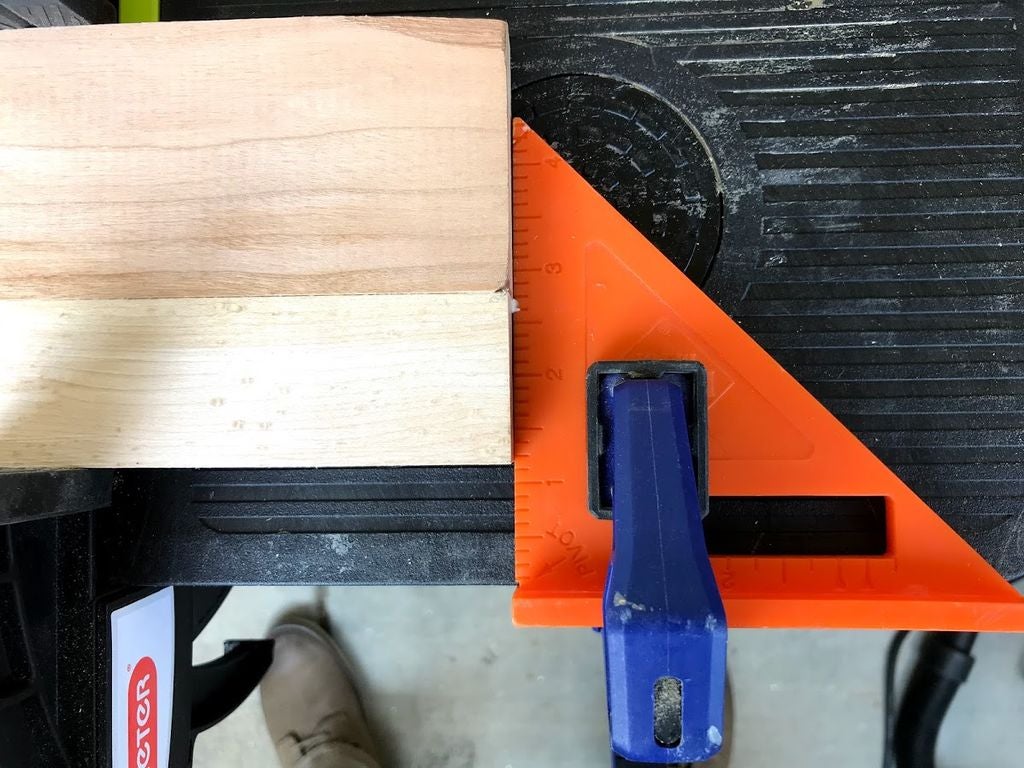
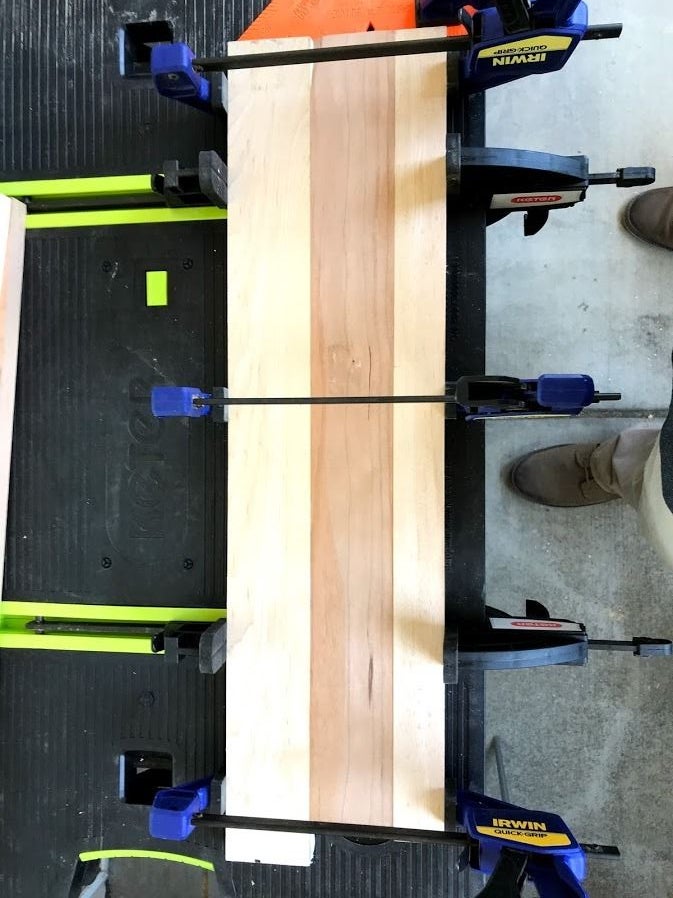
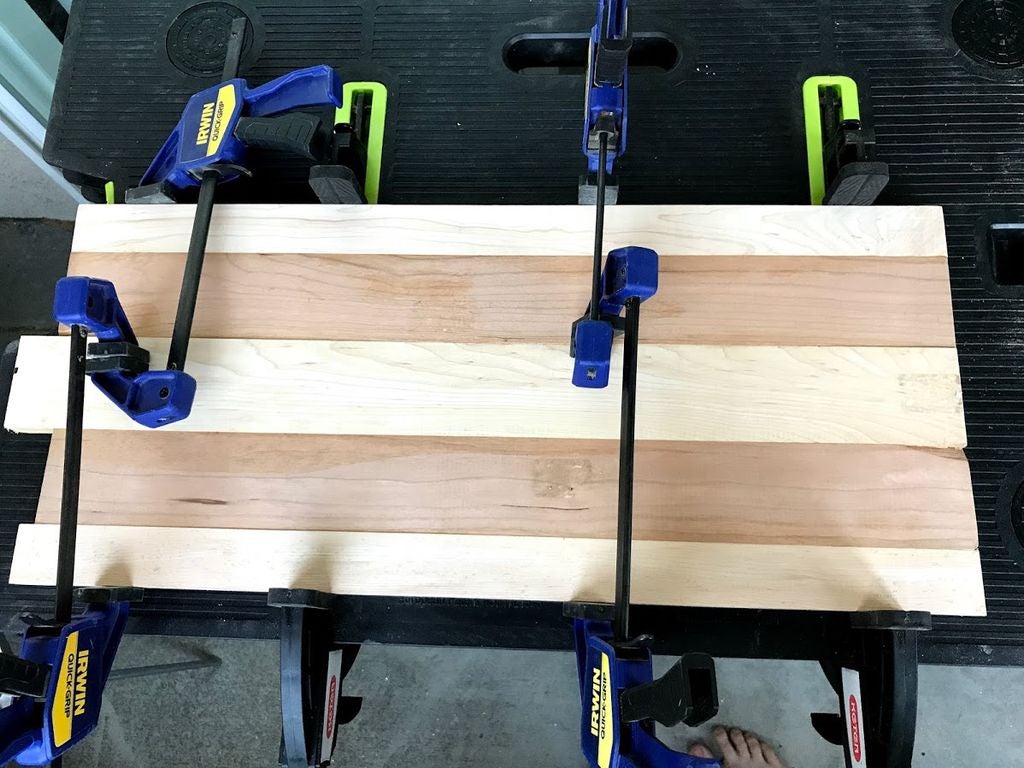
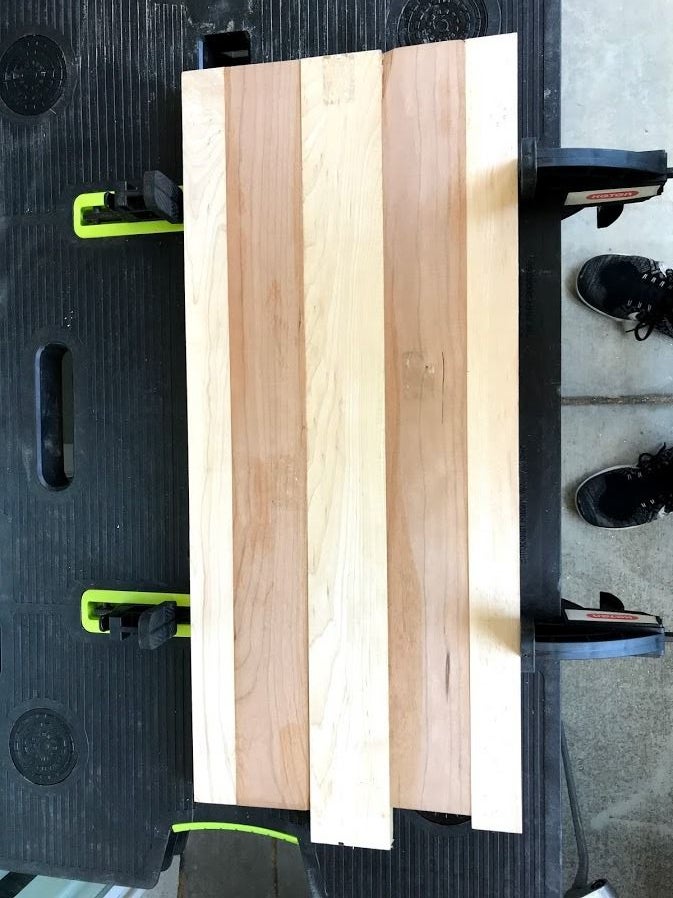
First step is to arrange the wood based on the pattern you want. Then spread the wood glue on the short edge of one slab and spread it evenly with your finger. I found it easy to do the glue up a few boards at a time then clamp and let it sit for an hour before adding the next board. This also makes sure the boards are fully bonded together and won’t come loose later on. Once all the boards are together you should wait at least 24 hours for the glue to fully dry.
Step 3: Sand the Boards Smooth
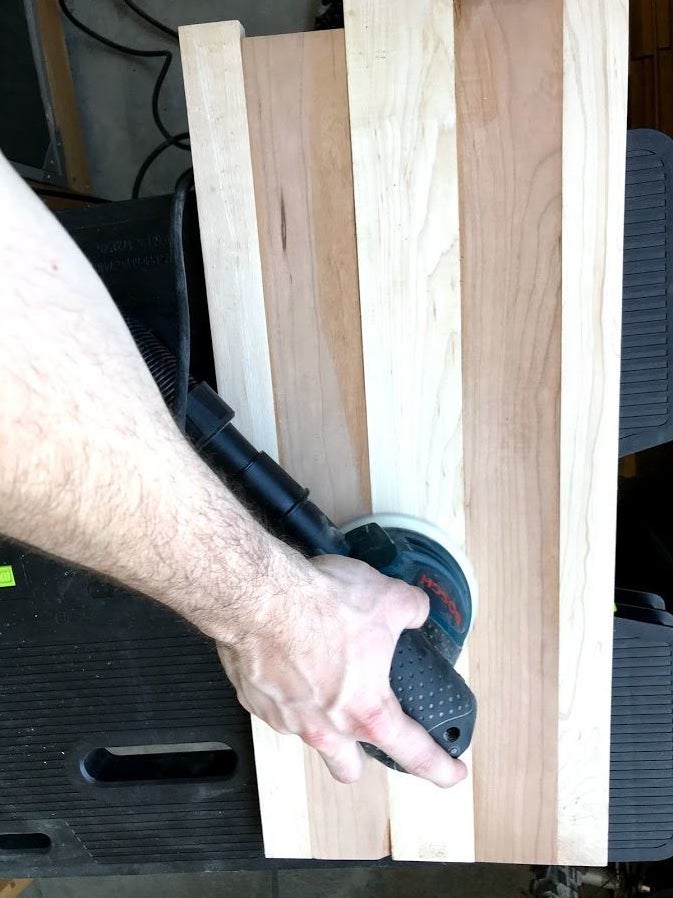
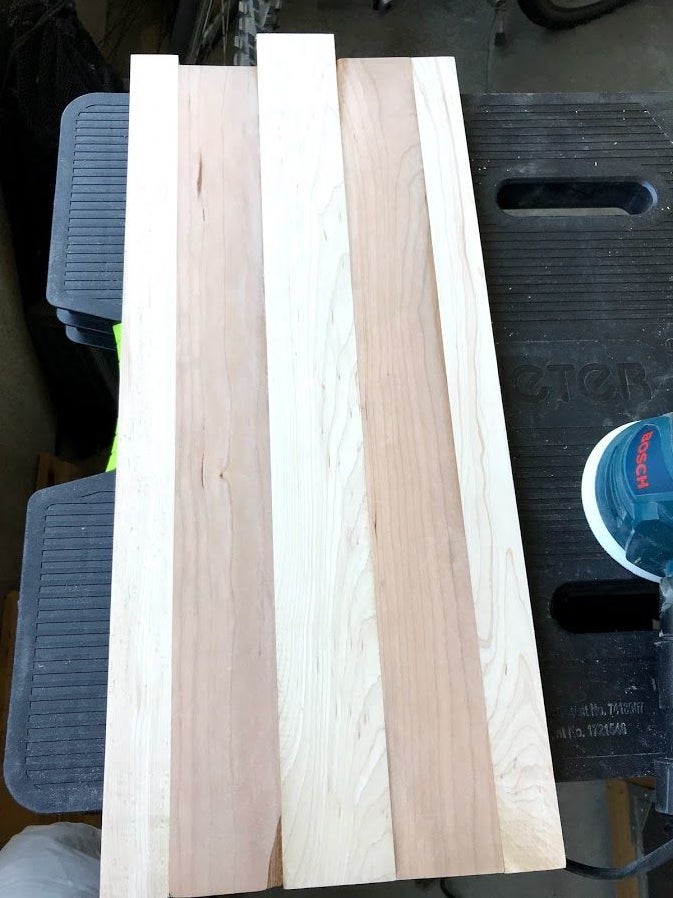
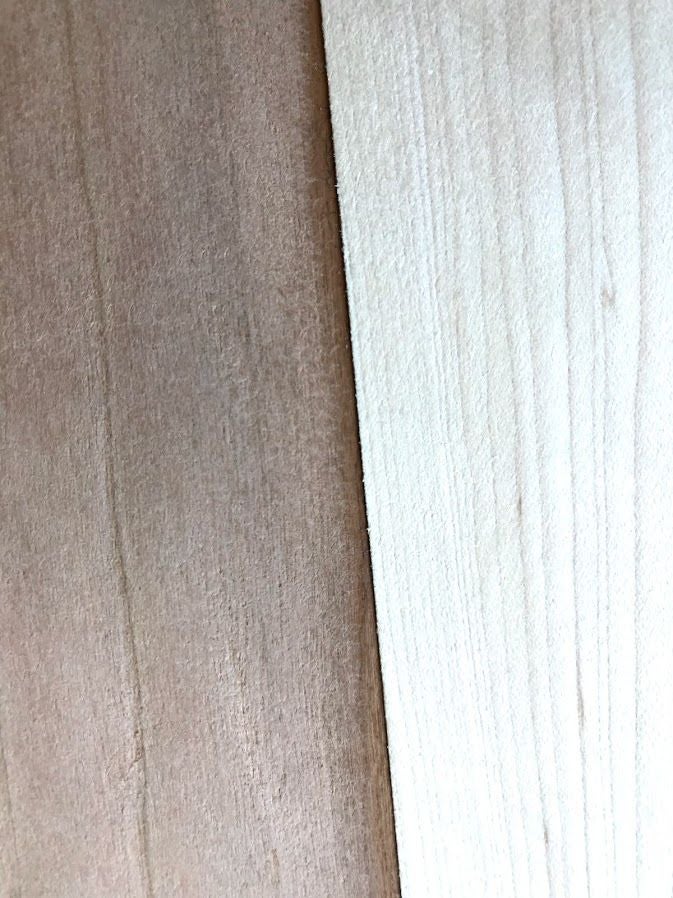

Chances are your boards aren’t perfect so now’s the time to fix that. I used my orbital sander and sanded from 80 grit all the way up to 220 grit until I got a smooth surface. Start with the side that was facing up during your glue up of the boards. Once this is done flip the board over to the other side and repeat. I decided I wanted to try using my CNC to level out the second side, however my machine isn’t large enough and I took a little more material off than I wanted. Looking back, I recommend using a sander and just taking your time.
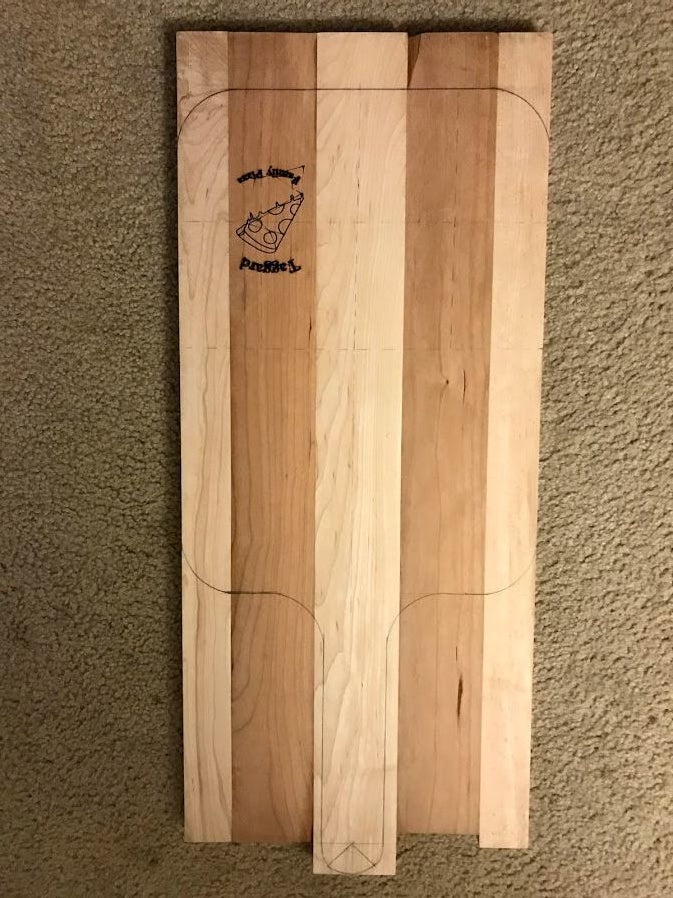
Step 4: Engrave Your Design (Optional)
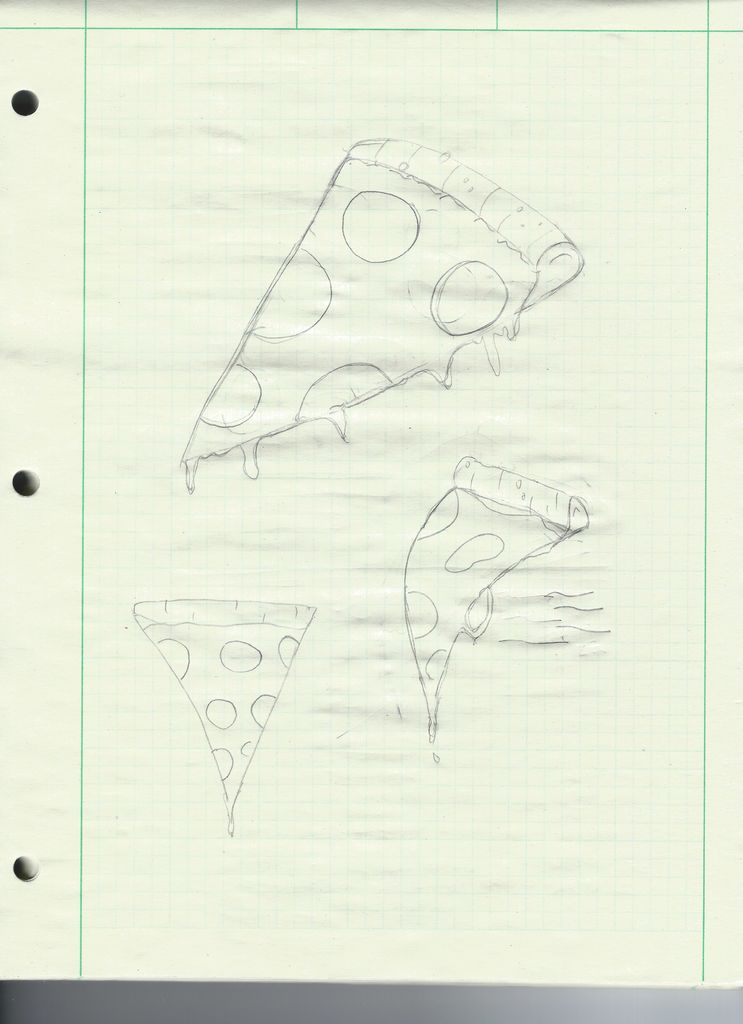

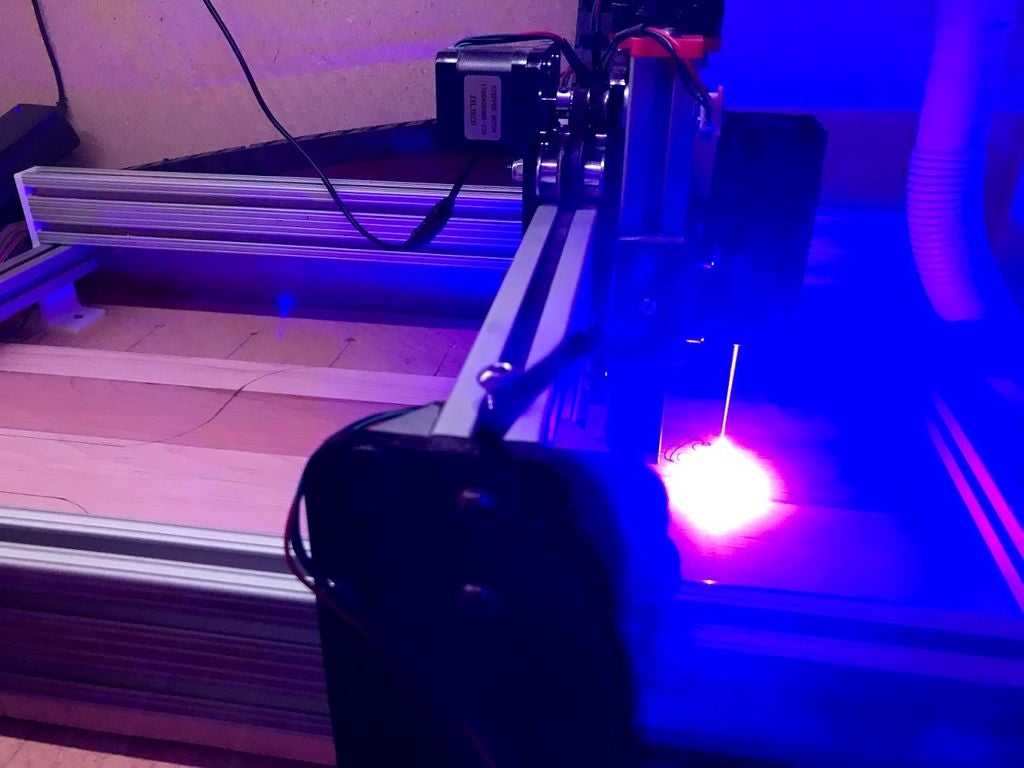
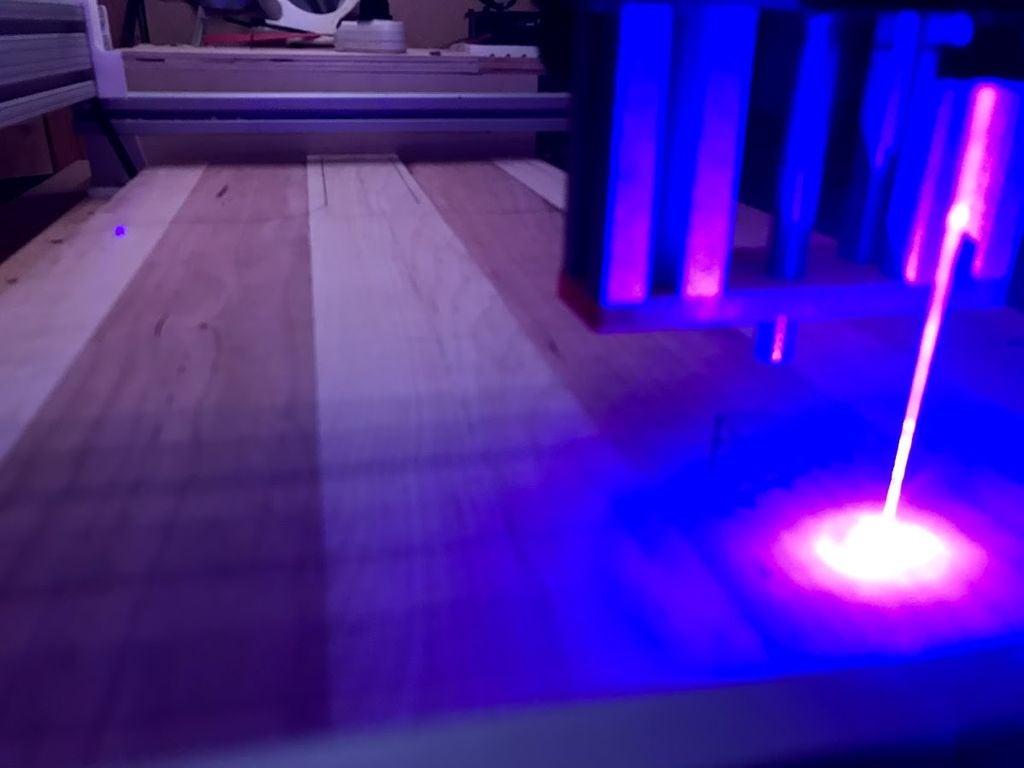
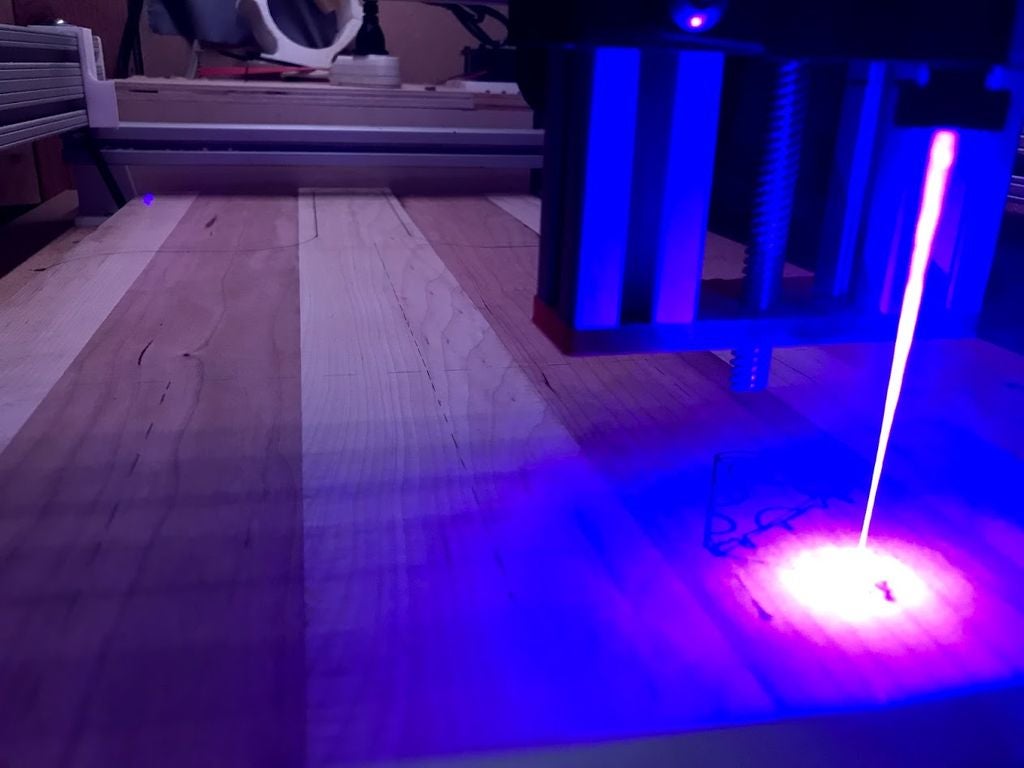
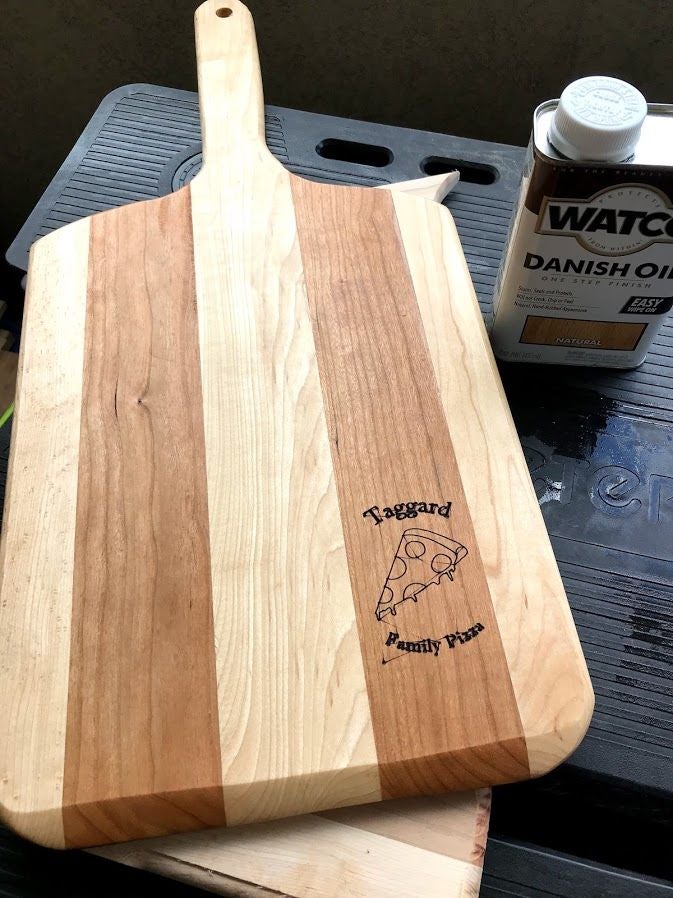
If you want to customize your board then now is the time. Again, using my CNC I decided to laser engrave a design into the wood. We started with some sketches of pizza slices, then traced over them in Illustrator (Inkscape or some other free program could work well too). Then I added some text, exported it to an SVG file imported it into Easel, and let the CNC do the rest. If you don’t have a laser engraver you can probably try burning the wood or some other method to customize the peel.
Step 5: Finalize the Shape
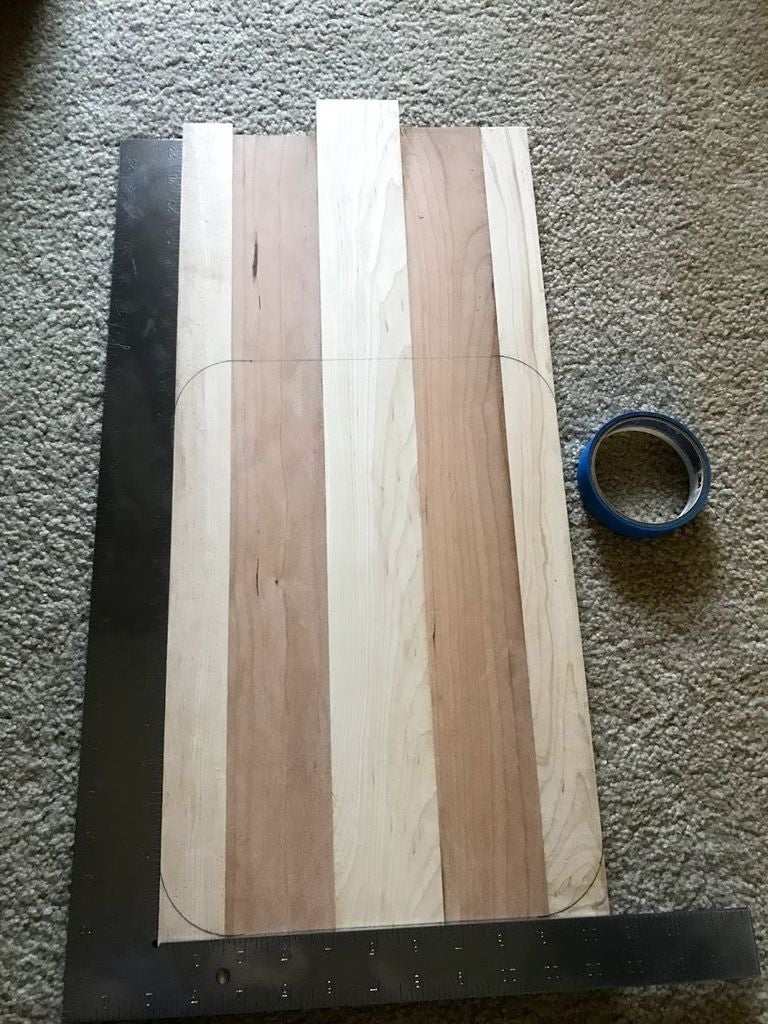
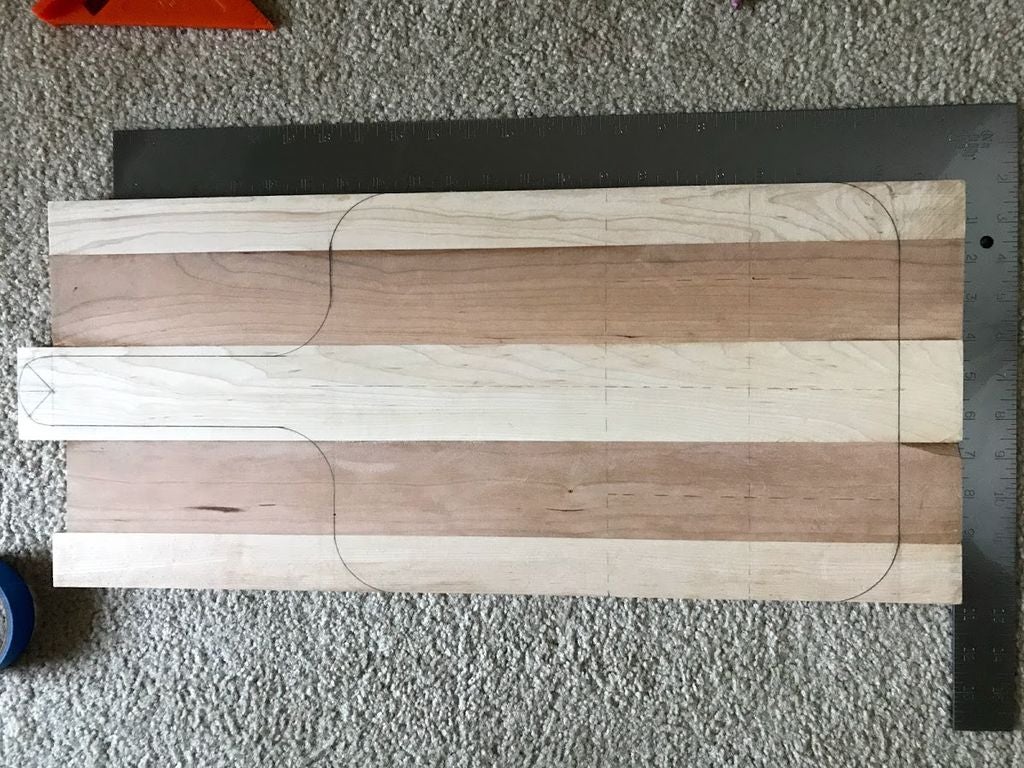
Next step is to shape the board into a pizza peel shape. If you’re just making a cutting board then this step isn’t necessary. This step can also come before or after customizing the board.
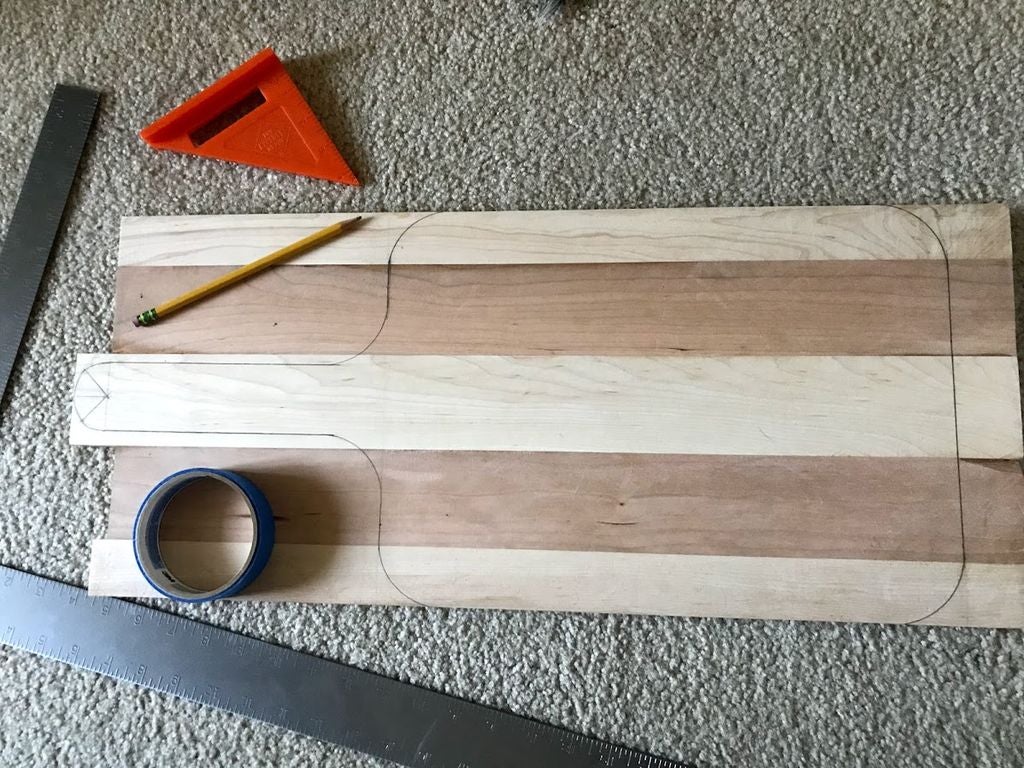
Using a ruler and pencil we traced out the general shape of the peel. An old roll of tape is useful for drawing in radii to make the shape smooth around the corners. It might take a few tries to get a shape you like, and once you do make sure to darken the lines with pencil. Finally, use a jigsaw to cutout this shape.
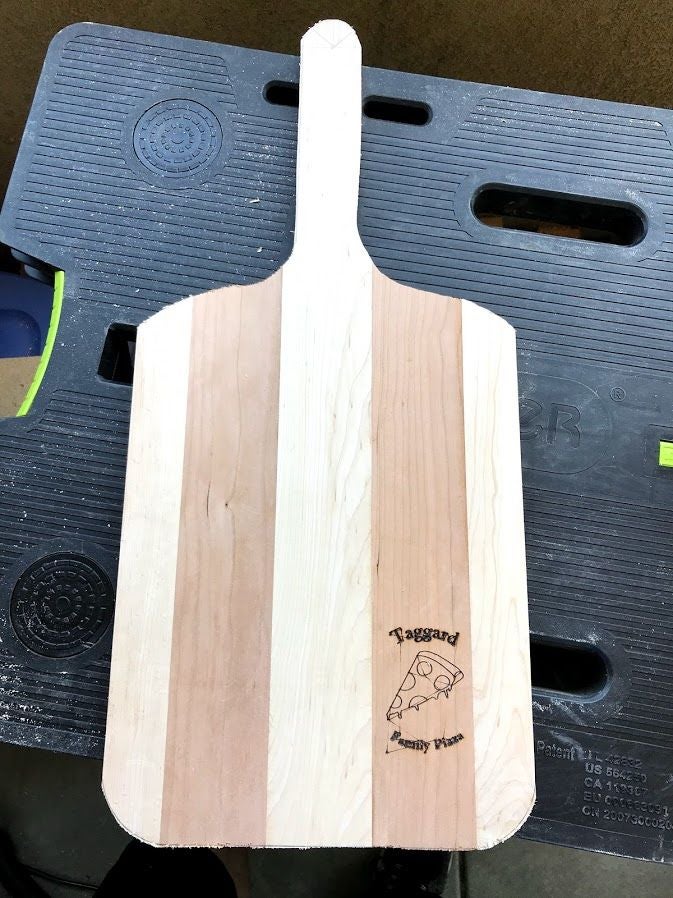
Step 6: Add the Finishing Touches
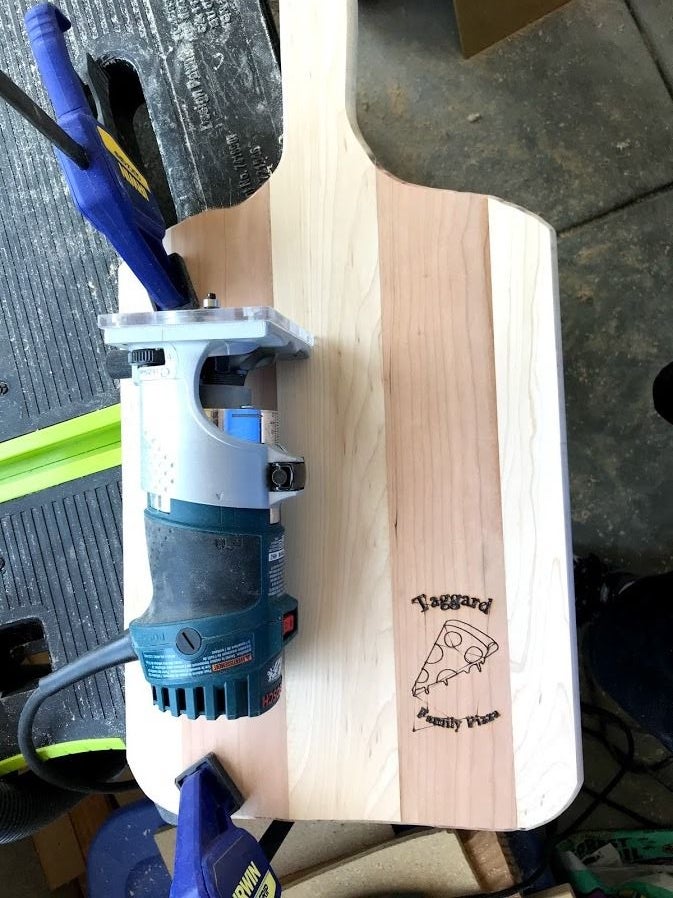
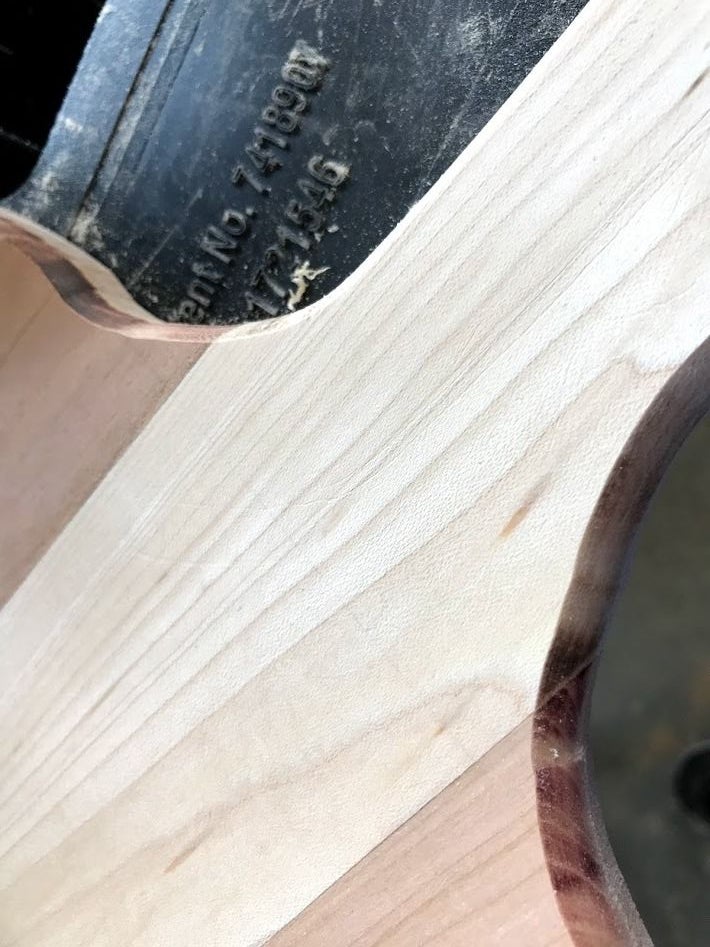
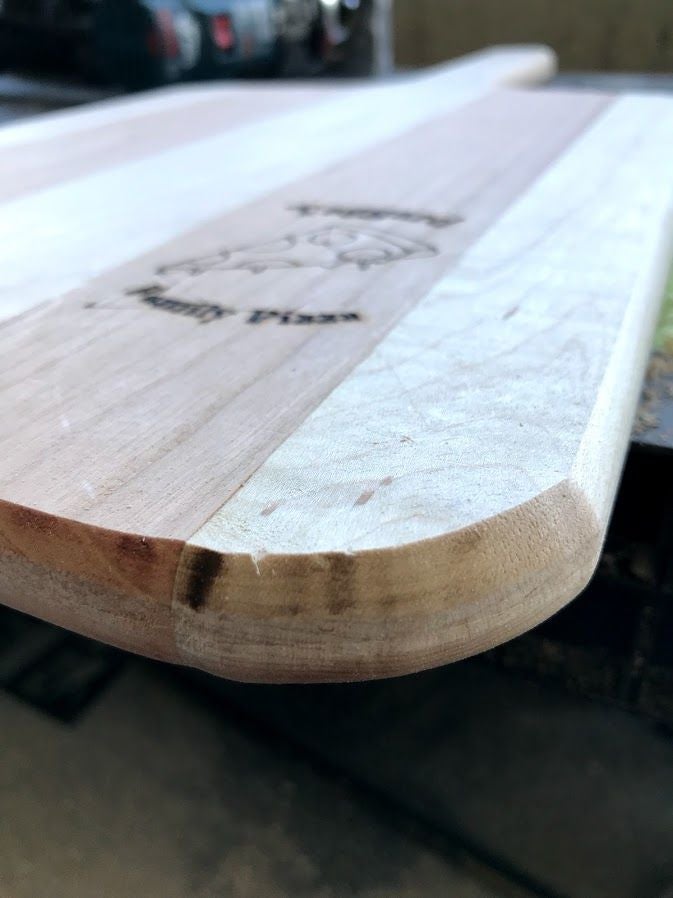
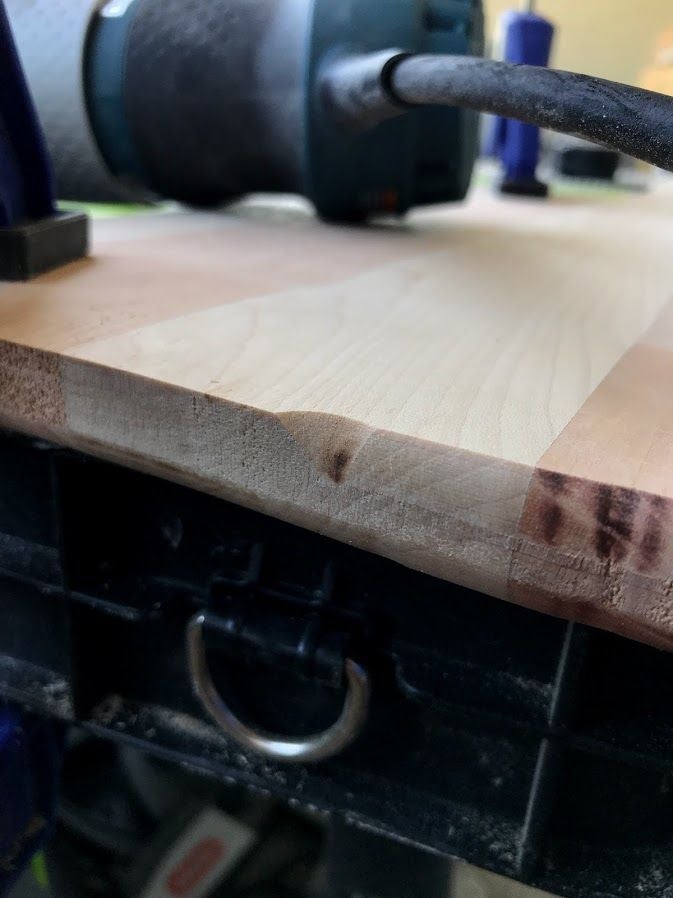
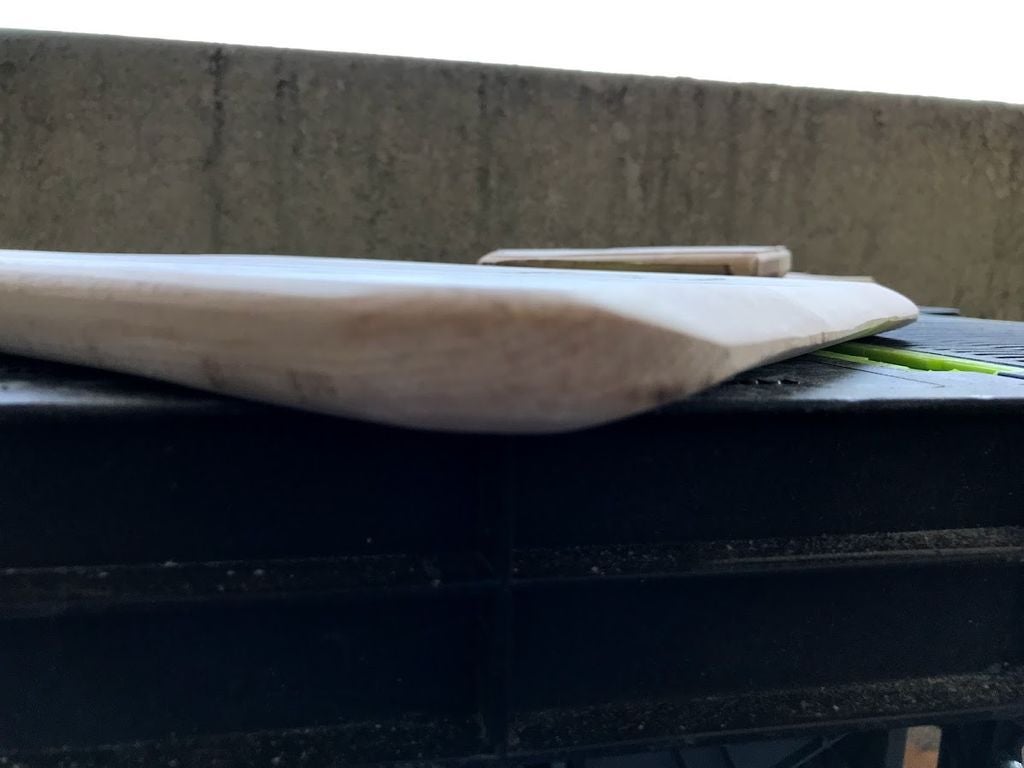


Once you have the shape you want you’ll probably want to round over the edges. This was easiest for me to do with a round over bit and a router, however you could probably do the same thing with a sander. You can see the router burned parts of the edges, but I think this makes it look a little more rustic and gives it some more personality. You’ll also want to chamfer the front edge so it’s easier to pick up the pizza. This took some time, but if you keep at it then you’ll get a shape you’ll like. I also chose to drill a hole in the handle in case my dad wants to hang it at some point.
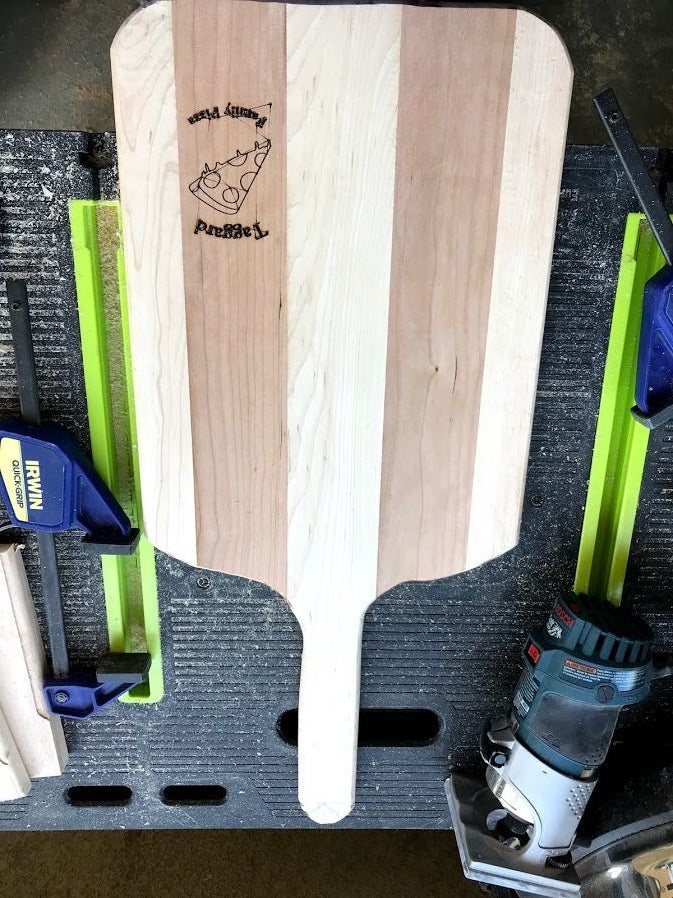
Lastly, give the board one final sanding and wipe with a dry cloth. I also sprayed it lightly with water, then let it dry and wiped it one last time. Spraying it helped to raise the grain and remove all the leftover dust.
Step 7: Stain the Board

Give the board one last wipe down before applying the stain according to the can. I chose a natural Danish oil but there are multiple options for what you can use. Choose something you like best and make sure it’s food safe. I really liked this step as it’s one of the finishing touches and really makes the pizza peel pop.
Step 8: Make Your Pizza!
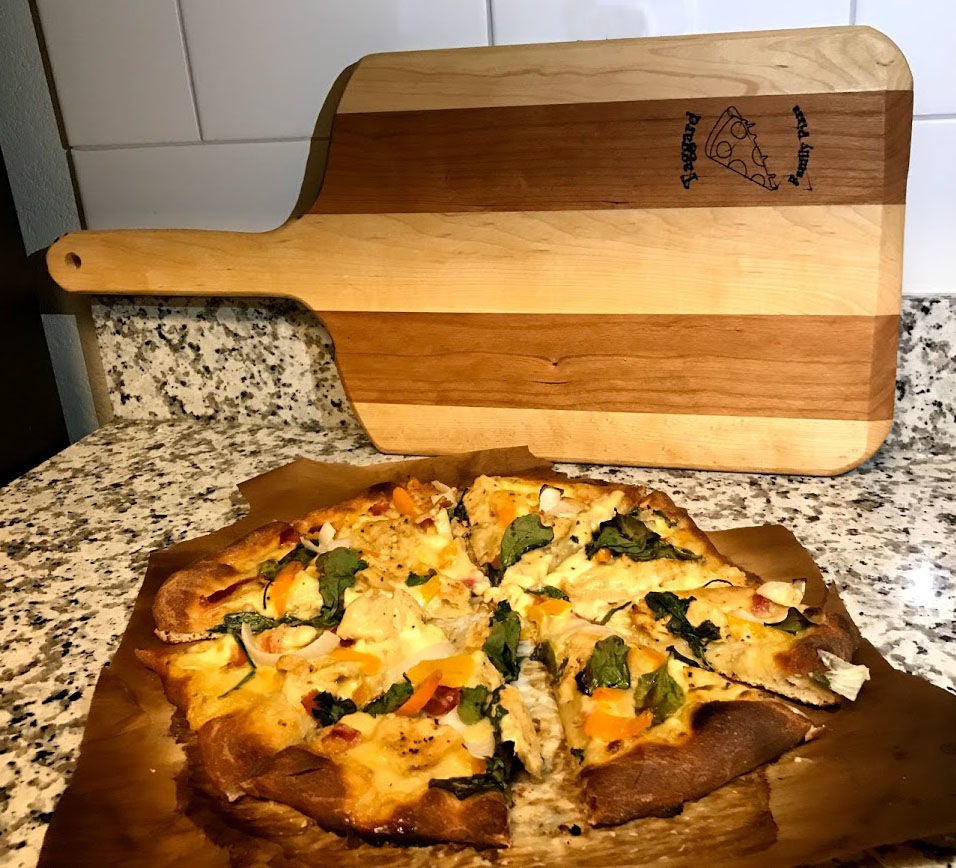
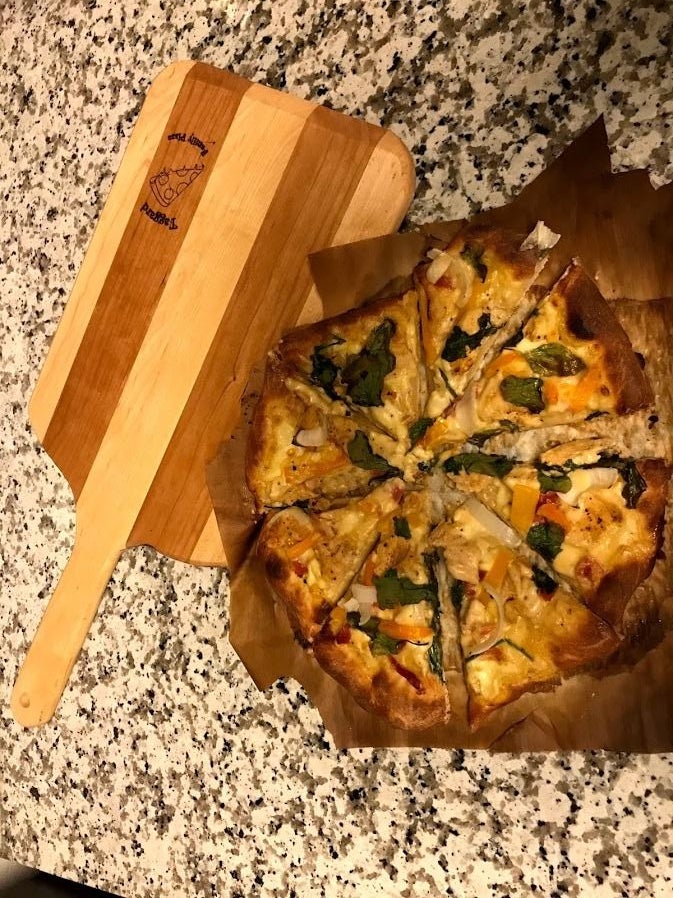
That’s it! Once the pizza peel has dried for at least 24 hours it’s ready to be used. We still used parchment paper for our pizza since it’s being given as a gift but there’s no reason to not have the pizza sit directly on the peel.
Hope you enjoyed the Instructable and let me know if you have any comments / tips / tricks / etc. in the comments below!